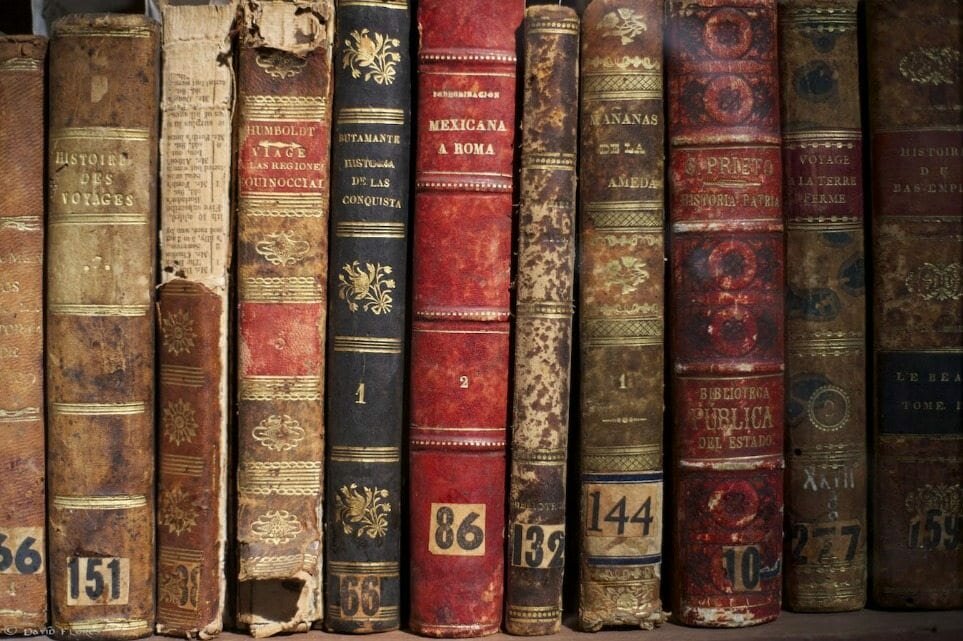
Did you ever watch a period piece and notice how cool the antique books look? Those dusty, torn, well-used books that seem like they were written by scholars themselves, those are the kind of books to which I’m referring. Being an independent filmmaker, I can’t just go out and buy some, so I decided to make my own. Here’s how I did it.
Actually, before that, here’s a list of the stuff I used.
- a hardcover book
- black tea (I used Darjeeling specifically)
- dirt
- a lighter
- a large flat paint brush
- scissors
- hands
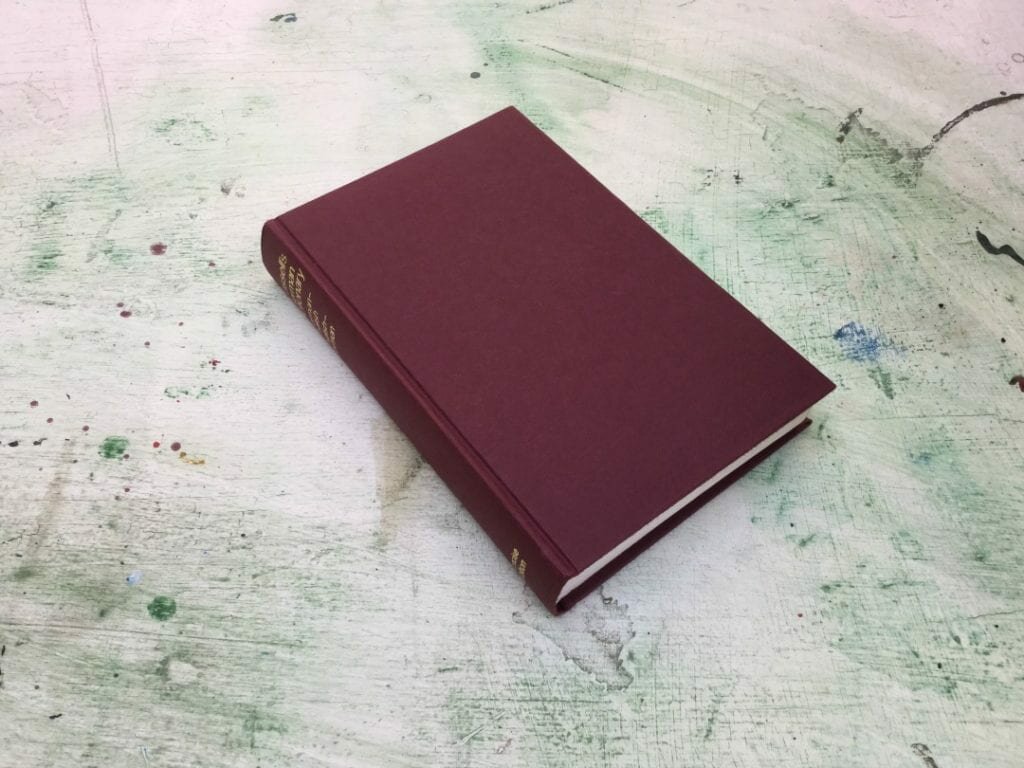
Here’s a before picture of the book:
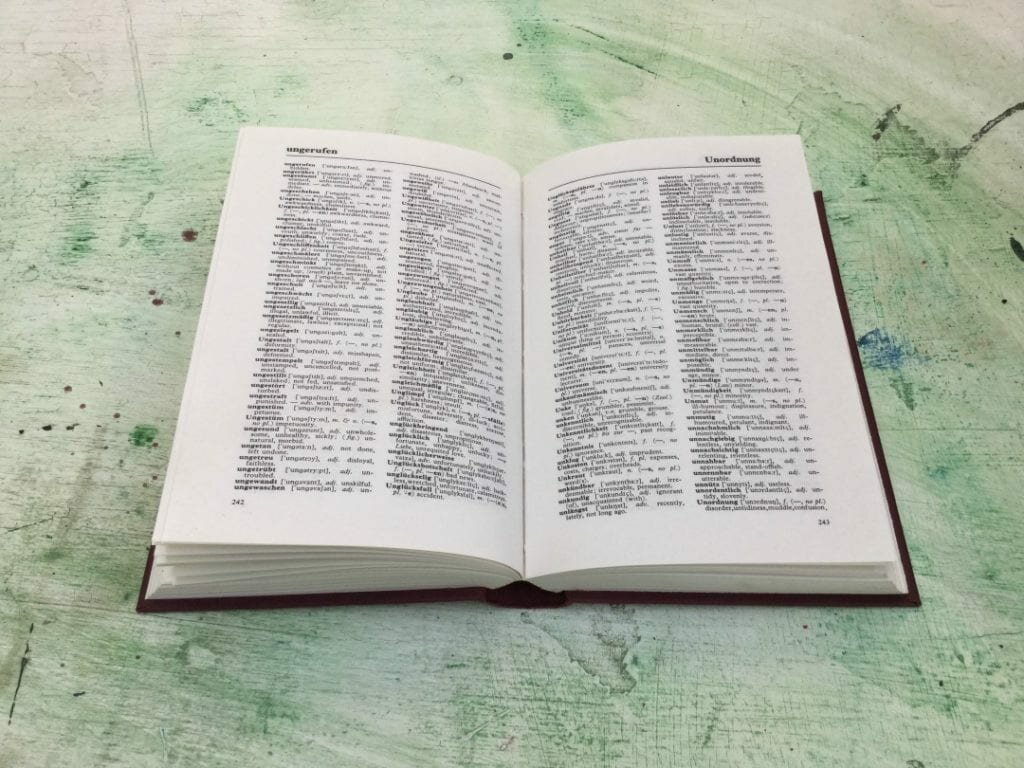
And the pages:
Now for the steps!
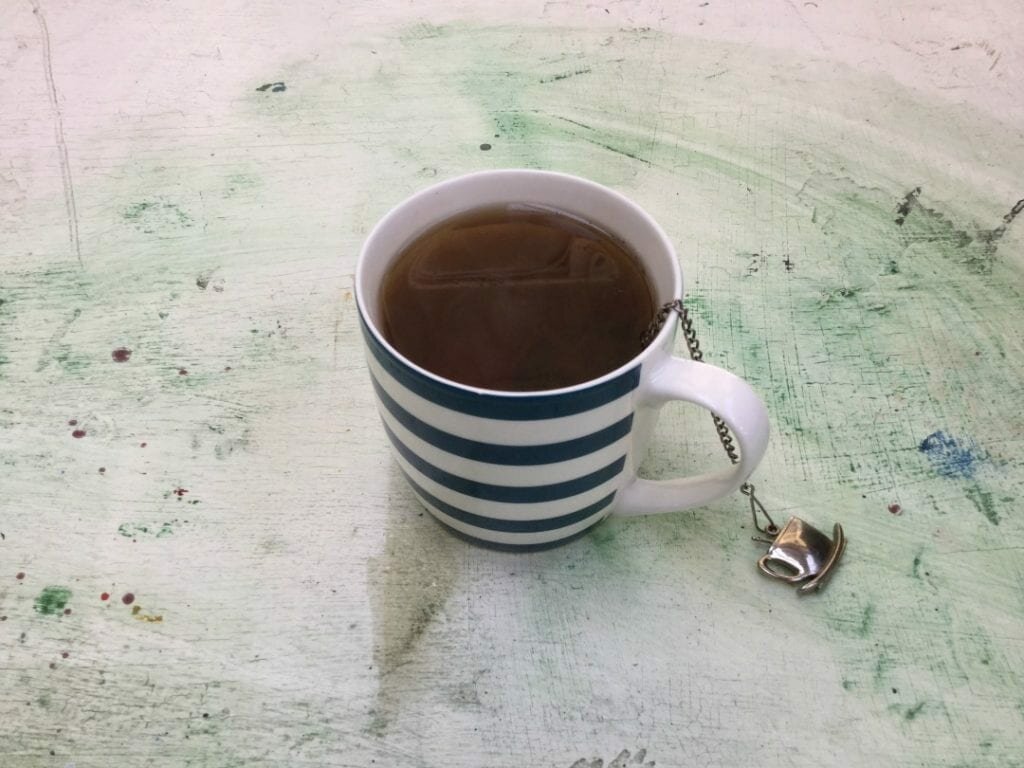
Step 1: Make yourself some tea
The first thing to do before you even touch the book is make some tea. Simply buy some tea at a nearby grocery store and using one tea bag, add some hot water and let the tea bag sit in the hot water and steep.
I let the tea steep for quite some time. It’s best to let the tea cool, because if it’s hot it can damage the pages by curling them. I started on the book and came back to the tea after I was done using the scissors.
Step 2: Scissor it up!
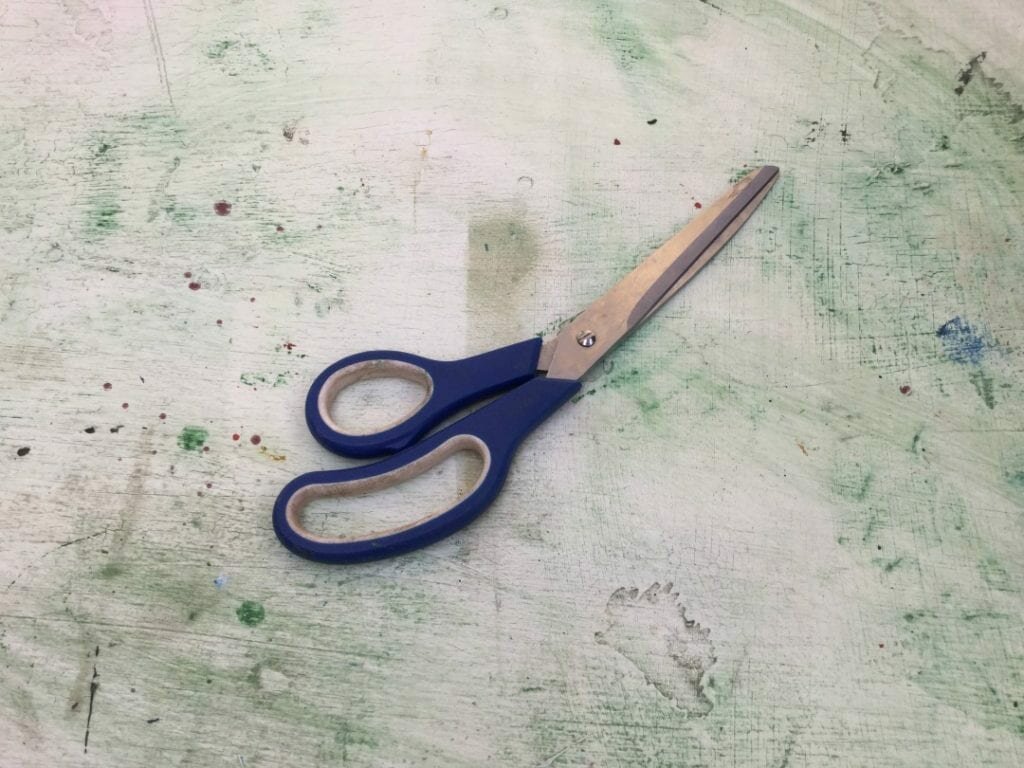
For this step I used a pair of scissors, these ones to be exact:
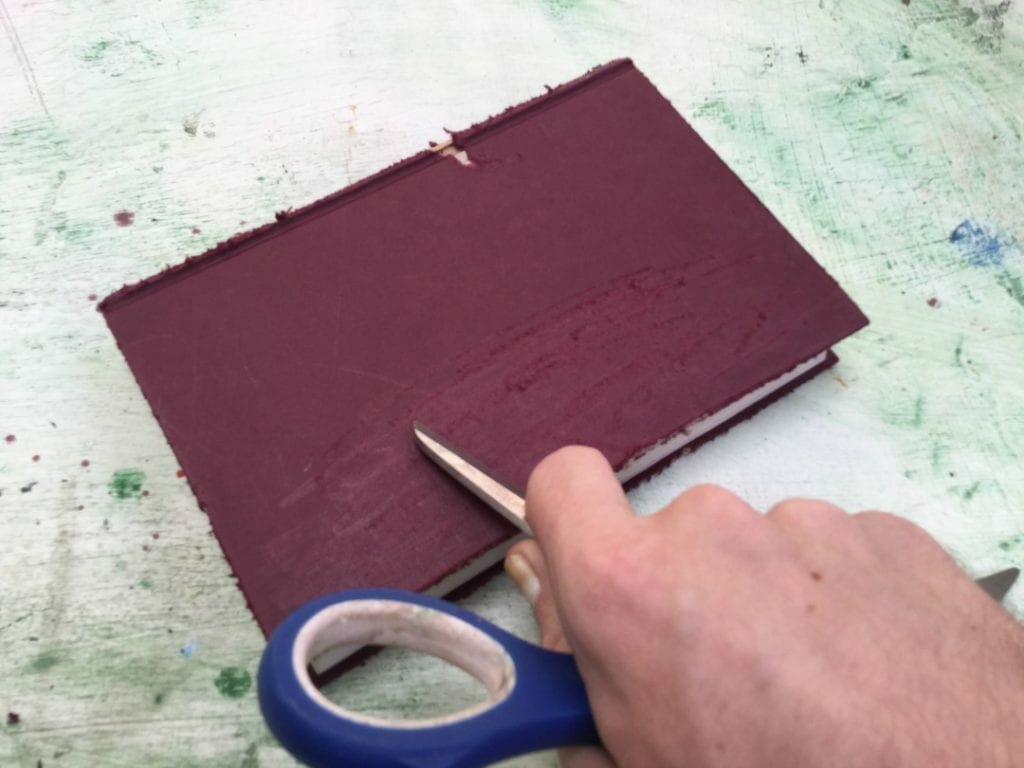
First thing I did to the book was scrape the blade along the edges of the cover. Scraping each side of the cover edge, I was able to scuff it up and create patches in each side.
Next I used the pointed ends of the blade and scraped along the surfaces of the cover. It created lines that at first I was a bit unsure of. I thought it took away from it, not looking realistic, but once I spent some time scraping away, it turned out nice and worn.
Always think of how the scrapes came to be too. For example the scrapes here could be from when the book was dropped multiple times, or when it was used to steady a chair leg.
Step 3: R.I.P. the pages
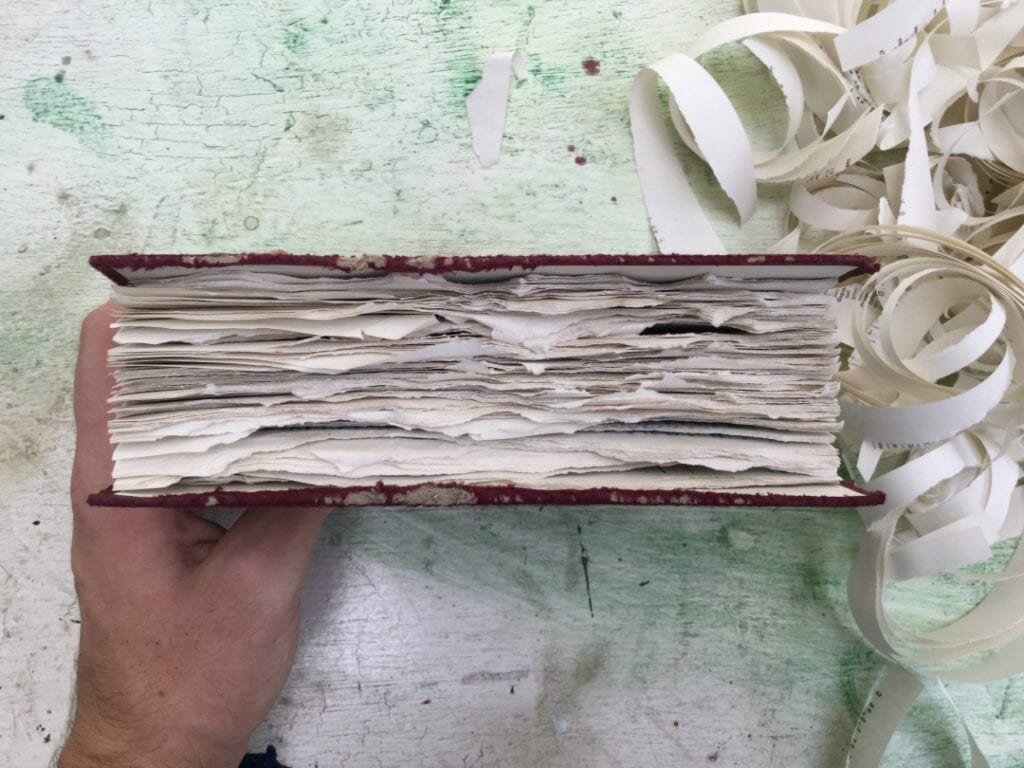
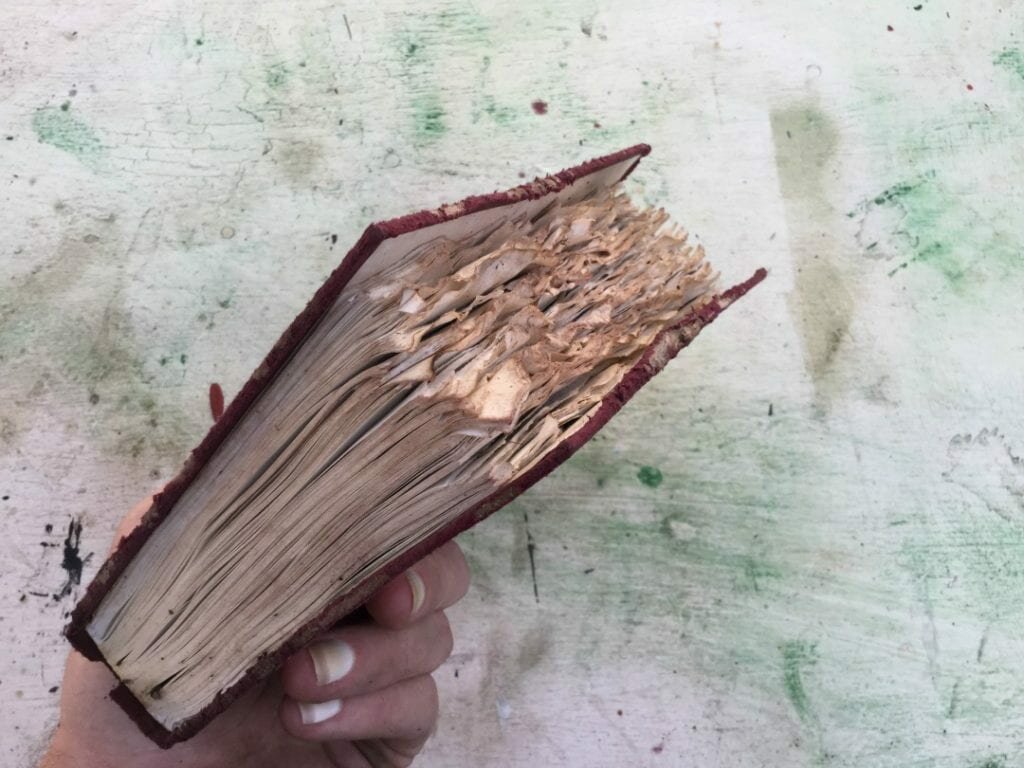
For this step, I took the longest edge of the paper and tore it. I took about ten pages at a time and ripped the edge from top to bottom. In doing so, each chunk would vary from the next one and I was able to get a varied look. You can skip this step though, as many old books don’t have torn pages.
But I did it, and here’s how it turned out:
The only thing I didn’t like about ripping the pages was they appeared a bit shorter than the cover, but it turned out better than expected.
Step 4: Just add fire
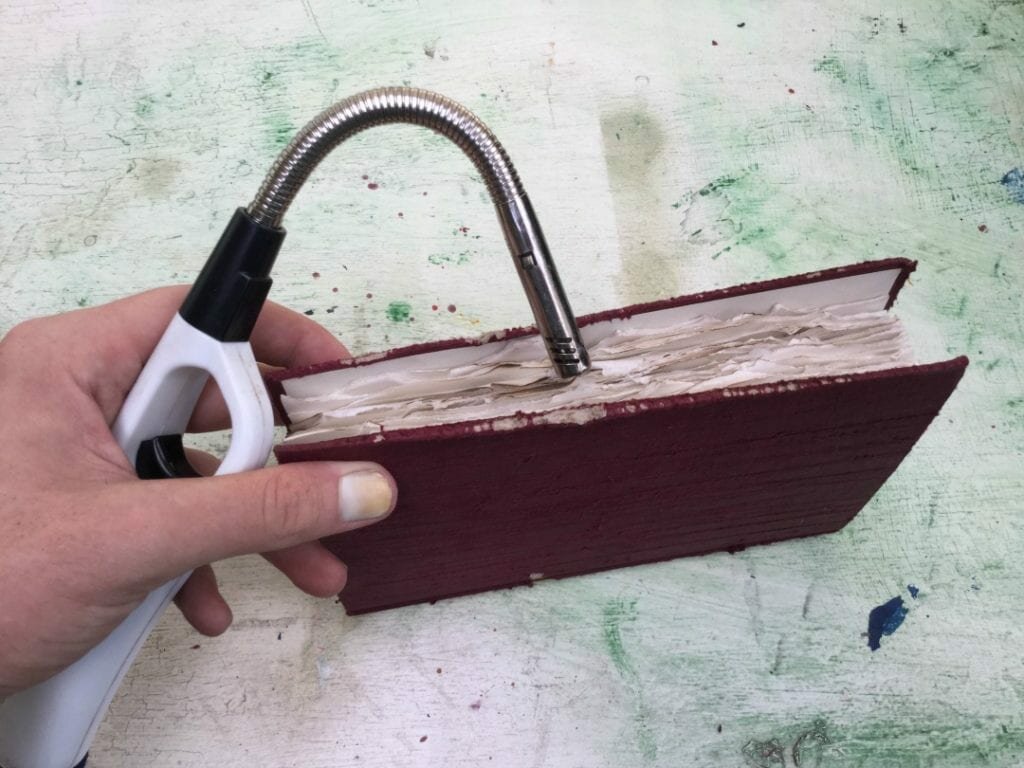
You don’t have to be a pyromaniac to enjoy this next step, but it wouldn’t hurt. Jokes aside, be very careful when lighting the paper. It’s best to have water nearby or a fire extinguisher in case it catches on fire. It was about to a few times, but I was able to blow on it and extinguish any flames.
The trick to this step is holding the lighter about an inch under the pages of the book.
Once you’ve felt like the edges have been nice and crisped, you can move onto the next step. It took me many swipes of the flame to get it just right.
Step 5: Tea time
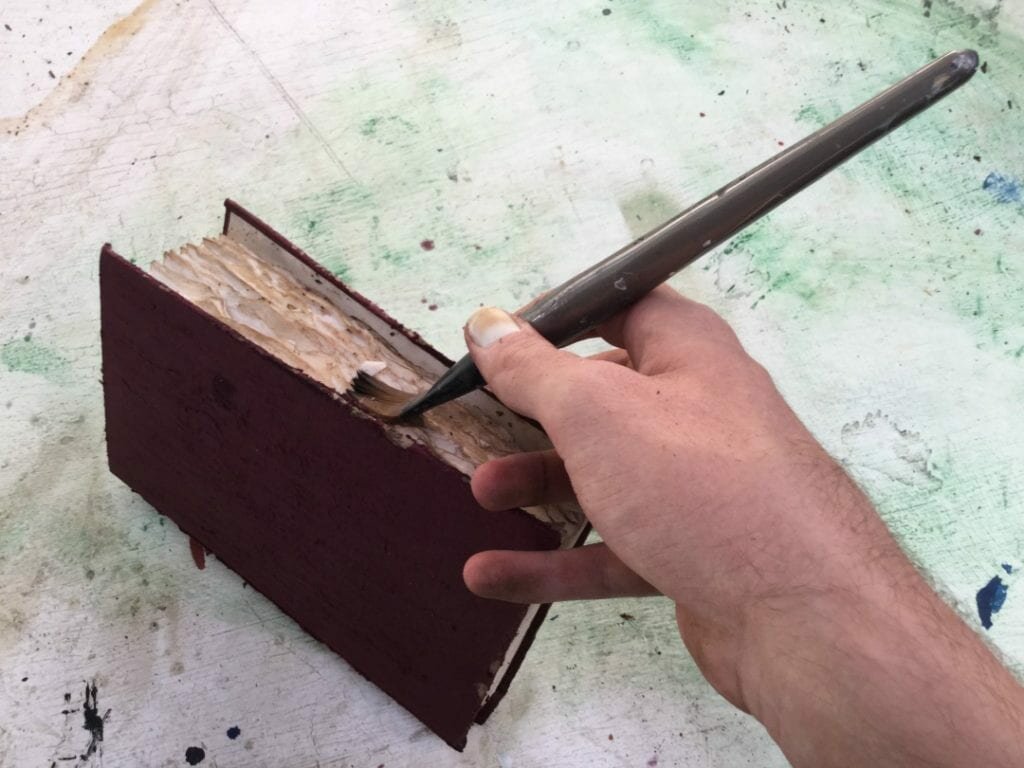
This step is where you are able to use the tea you’ve been steeping to add that yellow age that books often have. What I did is I dipped my brush in the tea and then covered the outside edges of the paper.
It took a decent amount of tea to get the pages looking yellow. I had to be careful not to use too much though, or the ink might start to bleed. Taking the brush, I dipped it into the tea and ran the brush along the edge of the cup, getting excess tea out of the brush. Then I brushed it over the edges of the paper a few times to get the right look.
After brushing the edges of the paper I brushed the front and back covers as well.
Step 6: Use dirt
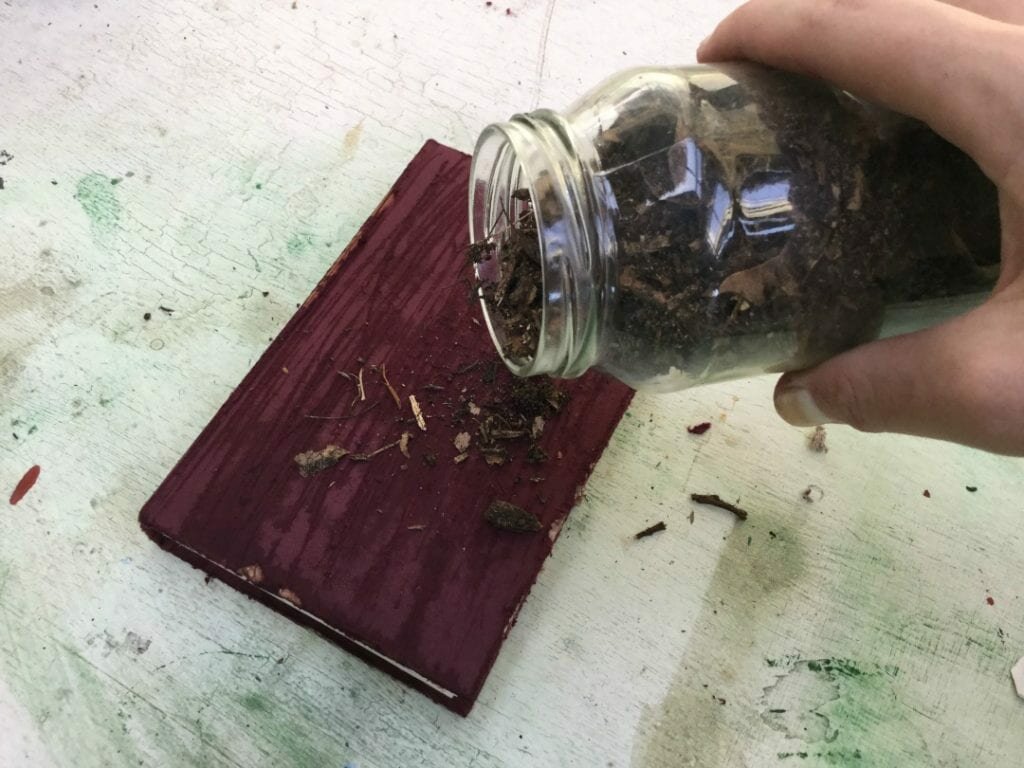
The sixth and final step in creating an aged book is using dirt to really grime it up. I had a jar of dirt that I collect from a nearby yard.
I sprinkled dirt onto the books back and front cover and then rubbed the dirt in as best as I could, by sliding the book back and forth across the table. I tried to make the book really dirty, the dirtier the better. After I covered both the covers in dirt I sprinkled dirt in-between the pages and rubbed the dirt all around there as well.
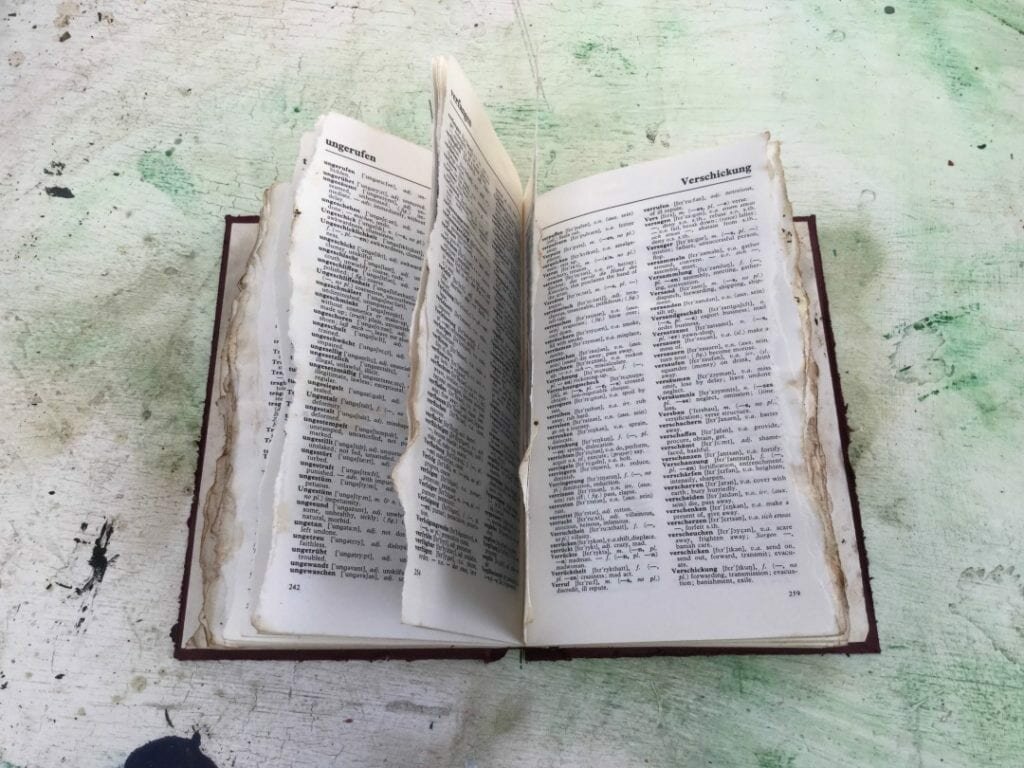
I shook off the excess dirt, crinkled the pages a bit, took a step back and marvelled.
Here’s the result:
I really liked the way it turned out, and I had a lot more fun messing up a book than I thought I would. Try it yourself at home and see how it goes for you! Even if it doesn’t necessarily turn out to what you are expecting, I guarantee it will be a fun process.
Bottom line when it comes to props: you don’t have to spend a lot of money, you just gotta get creative!


